When working on a software project, particularly in a team, a common workflow involves branching from the main branch, often master or develop. The created branch is where changes for a particular feature or issue are applied. One way of managing this branch would involve committing all work for a large feature to this branch and then merging it back once it has been completed. This means the branch lives for a relatively long time and we will likely find the integration process to be a painful process.
Continuous Integration, commonly referred to as CI, is a popular development practice that instead involves integrating changes back into the main branch regularly. By integrating regularly the aim is that the cost of doing so will go down and errors will be detected more quickly. An important part of this process is that before changes are merged, the code is automatically built and tested. By testing before the merge instead of afterwards, integration issues are visible earlier and issues can hopefully be fixed more easily.
Many people will agree that CI provides many benefits in a team environment, including in-house teams and open source projects with many different contributors. What is spoken about less often are the benefits of using CI in a solo environment. By having CI building and testing our code before it is merged, we can integrate code more safely and monitor it over time.
Available solutions
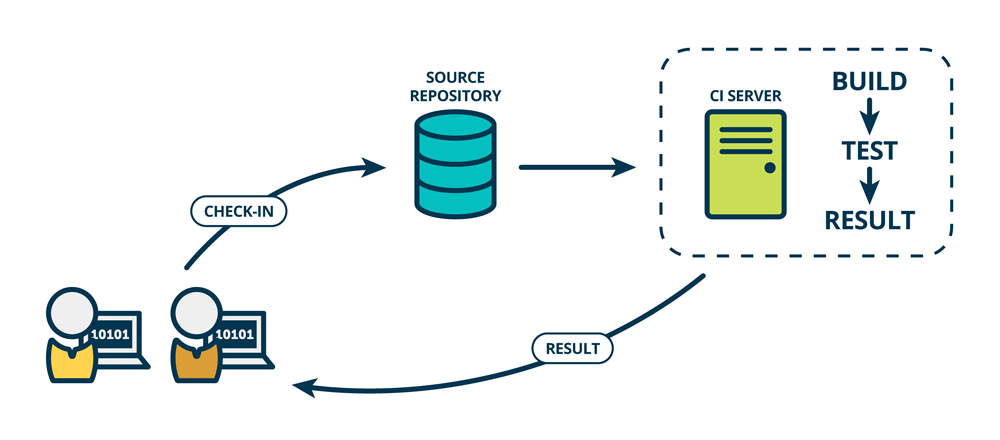
In order to build and test code automatically, it is a good idea to have the process running on a CI server of some kind. This server monitors the codebase for changes, such as via a Pull Request using web-hooks, and then triggers the test suite to be executed. By ensuring the CI server is separate to the development machines verifies that it builds correctly in a clean and consistent environment.
A pull request can automatically trigger a test run
When it comes to setting up and running a CI server, there are a huge number of services to choose from. We will have a look at a few that work differently to give an idea of what is available.
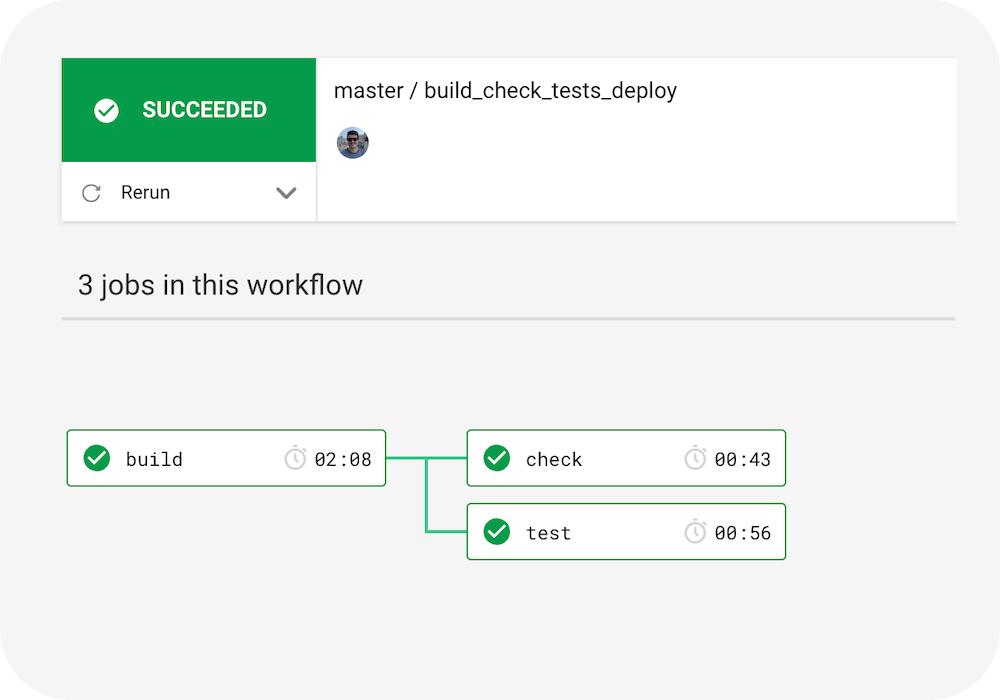
Circle CI is a cloud-based service that uses either Linux or MacOS virtual machines as the build environment. For Android, Linux is the best option due to the pricing being much more favourable with a free tier. Configuring the build jobs involves a YAML file within the project, resulting in a process that is very customisable.
![]()
Bitrise is similar to Circle CI in that it is a cloud-based service, however, it is tailored to the individual needs of mobile development. This means it has many mobile specific integrations, including deploying to Google Play alongside services such as TestFairy and Firebase Test Lab. As with Circle CI there is a free tier, although it is fairly limited in terms of build minutes allowed. Configuring the build jobs can be done either via a YAML file in the project or using the workflow editor directly within the web UI, giving an increased level of flexibility.
![]()
Jenkins is the leading self-hosted automation server that we install, configure and maintain ourselves on our own hardware or cloud infrastructure. Jenkins is perfect for people who want to maintain the full CI set up themselves. It is incredibly customisable, where we can essentially make it do whatever we want, boasting a huge number of plugins and integrations from the community. It does come at the cost of doing all this, where the other cloud-based solutions are managed for you.
![]()
There are many other CI solutions that haven't been mentioned here including: Travis CI, CodeMagic, GitLab CI, TeamCity and Bitbucket Pipelines.
The best solution isn't the same for everyone. The best solution depends on individual requirements, the features we want and also personal preference. To explore the process of setting up CI, we will look at getting a simple workflow running in both Circle CI and Bitrise via the web UI, for comparison.
Circle CI
Once our Circle CI account has been created and integrated with our source control, such as GitHub or Bitbucket, we can start creating our CI config. For Circle CI, this needs to be a YAML file at .circleci/config.yml.
version: 2.0

jobs:
  build:
    working_directory: ~/workspace
    docker:
      - image: circleci/android:api-28

    steps:
      - checkout

      - run:
          name: Run tests
          command: ./gradlew lintDebug testDebugUnitTest

      - store_artifacts:
          path: app/build/reports
          destination: reports
      - store_test_results:
path: app/build/test-results- We start off by requesting Circle CI 2.0.
- We can next set up our jobs, which in this simple example consist of a single job that runs Android Lint and our unit tests.
- The first thing our job needs to do is configure the working directory and the image to use for our build environment. The working directory will be needed to do more advanced customisations such as sharing a workspace between steps in a workflow.
- Within the build job definition, we can list the steps to take, starting with checking out the code, running our tests and archiving the test results.
This example only covers the very basics and there is much more we can do with our configuration. An example showing a more advanced workflow including caching and sharing the workspace between workflow steps can be found as a gist.
Bitrise
After creating our Bitrise account, we can add our app to Bitrise by following through the full set up wizard. Bitrise is specifically designed for mobile, the detailed wizard helping with pretty much all of the heavy lifting. Once complete and on the dashboard page for our project, the navigation banner should be visible, giving us access to all of the customisation we need.

Entering into the 'workflow' area, we will be able to fine tune the default generated workflow as well as add any extra workflows we will need. Each workflow can be triggered at different times, so we could have one that runs for pull requests and another for tagged commits as an example.
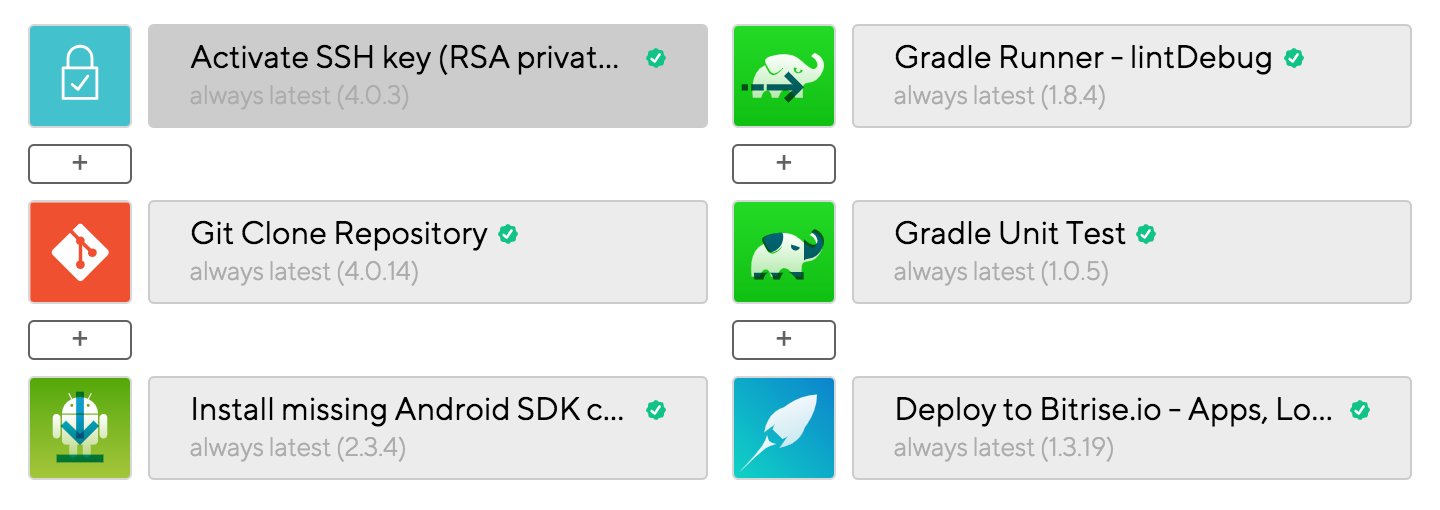
For our build we will need:
- Activate SSH key to set up SSH access to our source code.
- Git clone repository to retrieve our source code.
- Install missing Android SDK components to ensure the Android SDK is available and updated.
- Gradle Runner to run a Gradle task of our choice, where we should set the 'Gradle task to run' to
lintDebug. - Gradle Unit Test to run unit tests with Gradle, where we should set the 'Test task' to
testDebugUnitTest. - Deploy to Bitrise.io to deploy files and attach them to the Bitrise build page.
This covers a basic workflow that matches the one we created for Circle CI above. More advanced workflows can easily be put together using the many steps available, which are open source and viewable on GitHub.
Wrap up
Both Circle CI and Bitrise are very powerful and capable CI tools that apply well to Android development. Both solutions also work well for iOS development, allowing teams that develop for both platforms to use the same tool and subscription.
Circle CI has a more generous free tier in terms of usage, is highly customisable and will be very familiar with those used to configuring CI with a YAML file. Bitrise has more mobile specific plugins available out-of-the-box, allows configuration via the web UI and has a much more user-friendly interface.
It is important to find the right CI tool for the job by trying out the different options. When it comes to CI everyone will have a personal preference and this plays an important role in the decision of which one to use. It is even worth thinking about using CI for solo projects, although there is a set up and maintenance cost, it is still very valuable knowing that the project builds and that all tests are passing.
I hope the article was useful. If you have any feedback or questions please feel free to reach out.
Thanks for reading!
WRITTEN BY
Andrew Lord
A software developer and tech leader from the UK. Writing articles that focus on all aspects of Android and iOS development using Kotlin and Swift.
Want to read more?
Here are some other articles you may enjoy.